
Johns Manville Crawl Space Encapsulation: The Chicago Owner’s Guide
We stock and install Johns Manville crawl space encapsulation materials across Chicago, with most full encapsulations running between $5,800 and $11,400 depending on square footage, access height, and whether a sump pump or dehumidifier goes in. Same-week scheduling is standard for us, and every job starts with a written price before any work begins. Most owners discover their Johns Manville liner has failed because they notice a musty smell drifting up through the floorboards, or they pull back the crawl space door in July and get hit with humidity so thick the joists look wet. What’s actually happening is that the vapor barrier has been compromised: a seam has pulled open, a fastener has torn through the liner, or groundwater has found a path over the top of the barrier and is now evaporating directly into the framing.
Johns Manville makes the raw materials, but the success of a crawl space encapsulation in Chicago depends just as much on the install details: seam overlap, mechanical fastening, and how the liner is terminated at the foundation wall and piers. That’s where we come in. We’re an independent Chicago contractor, not affiliated with Johns Manville, and we’ve been sealing and insulating homes under The Haven Standard since 2016.
Key Takeaways
- Full Johns Manville crawl space encapsulation in Chicago typically runs $5,800 to $11,400 installed.
- We stock Johns Manville 10-mil and 12-mil reinforced liner, seam tape, and termination bar on the truck.
- We’re an independent contractor; we’re not a Johns Manville dealer or affiliate.
- Every job gets before photos, a written scope, and a documented photo record when the crew leaves.
Which Johns Manville Models This Applies To
Johns Manville doesn’t market crawl space liners as “models” the way a furnace manufacturer does. What you’re actually dealing with is a material system: their reinforced poly vapor barriers come in specific mil thicknesses and roll widths, and the compatibility question is always about what’s already under your house. The most common Johns Manville crawl space liner we encounter in Chicago is their 10-mil reinforced poly, typically sold in rolls of 10, 12, or 16 feet wide. We also see their heavier 12-mil version in homes where the barrier gets walked on more often, or where the crawl space floor has sharp aggregate that tends to puncture thinner material.
The critical thing to check is the roll width you have. If the previous installer used a 10-foot roll and you order a 12-foot replacement, you’ll end up cutting and seam-taping more than you planned. The seam is where Johns Manville crawl space encapsulation systems almost always fail first, so fewer seams is usually better. We carry both 10-mil and 12-mil rolls on the truck, along with JM’s matching seam tape and termination bar, so we can match what’s already installed or upgrade it without making the homeowner wait on a second trip.
One compatibility gotcha worth knowing: Johns Manville liner is made from high-density polyethylene with a reinforced scrim, and it behaves differently from bargain no-name 6-mil poly you’d find at a big-box store. The JM material is far more puncture-resistant, but it’s also stiffer and needs to be cut clean and mechanically fastened at every termination point. If someone installed cheap poly and called it done, replacing it with the JM liner usually fixes the condensation problem that’s been eating away at the floor joists.
Signs Your Johns Manville Crawl Space Encapsulation Is Failing
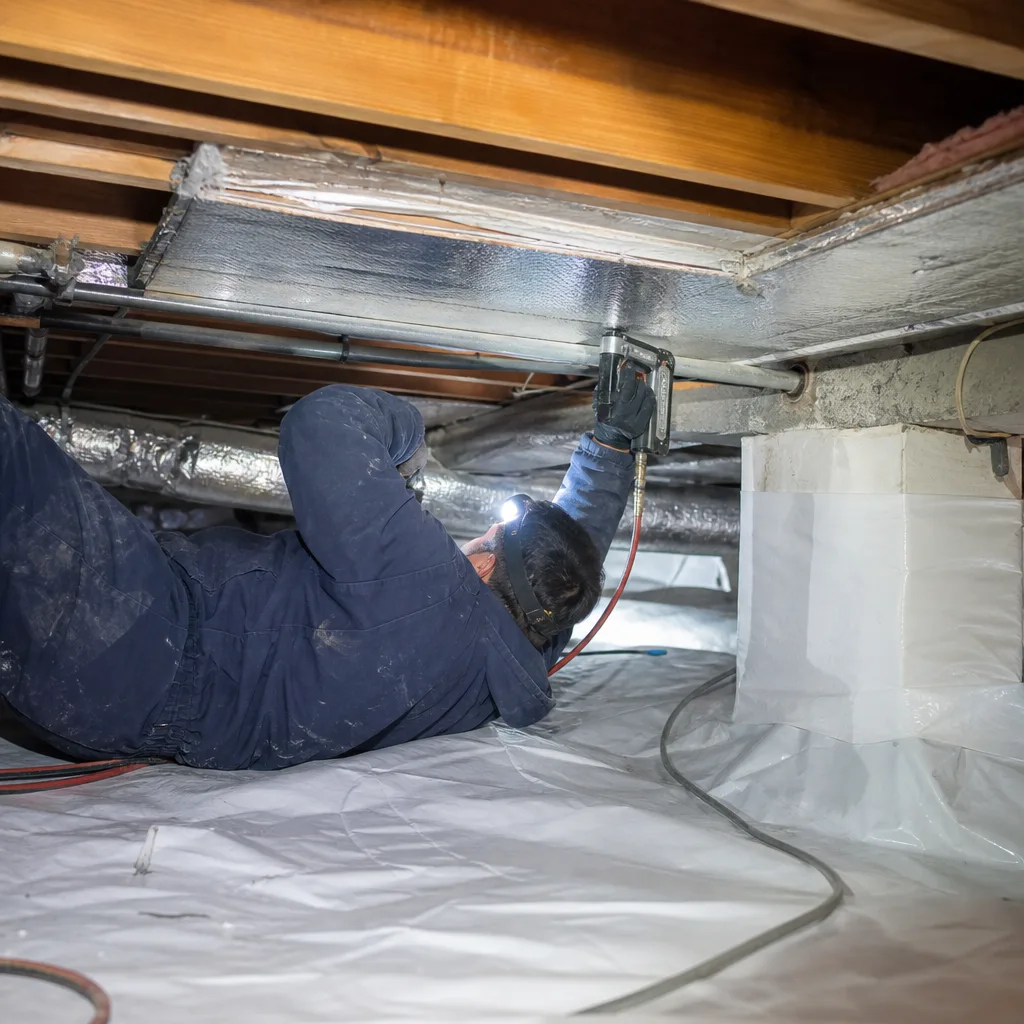
- Musty or “basement” smell upstairs in winter. Cold outside air pulls moisture up from the crawl space through gaps around plumbing penetrations and sill plates. A compromised liner means there’s standing moisture ready to ride that air current into your living space.
- Damp or cupped hardwood floors above the crawl space. Wood flooring responds to moisture from below, and cupping is the signature of a vapor barrier that’s no longer stopping ground evaporation. We see this regularly in older Chicago bungalows where the floor was refinished before the crawl space was ever sealed.
- Visible water pooling on top of the liner. Groundwater can wick up through the seam overlaps or enter at the edge where the liner meets the foundation. One heavy rain, a high water table, and suddenly you’ve got a shallow pond sitting against your floor joists.
- Condensation on air ducts or plumbing in the crawl space. When the liner fails, relative humidity in the crawl space climbs, and metal ductwork becomes a condensing surface. That moisture then drips onto paper-faced insulation or pools on the liner.
- Mold staining on rim joists or floor sheathing. This is the late-stage symptom. By the time the mold is visible, the moisture load has been elevated for months, and the fix usually involves removing affected insulation and treating the framing before reinstalling the barrier system.
Wes Okafor, our owner and lead building envelope technician, has walked plenty of Chicago crawl spaces where the vapor barrier looked intact from the entrance but was shredded or pulled away from the foundation wall at the far end. The symptom picture is the same: a house that smells like a damp basement and an energy bill that doesn’t match the square footage.
Replacement Cost & What’s Included
For a typical Chicago crawl space of 800 to 1,200 square feet, a full Johns Manville encapsulation runs between $5,800 and $8,600. Larger or more complicated spaces with low clearance, multiple piers, or standing water issues can push the job to $9,000 to $11,400. The wide range comes down to three things: the square footage, the access height, and whether we’re also installing a sump pump, drainage matting, or a dehumidifier. Each of those is a line item on the written scope, not a vague “depending on conditions” note.
What you get for that price: the JM liner cut and mechanically fastened to the foundation walls and every pier, seam tape on every overlap, termination bar where the liner meets the block or concrete, and a full photo log showing every step of the install. We also include before-and-after humidity readings so you can see the environmental difference. And if at any point in the first year the work isn’t done right, the 365-Day Done Right Promise means we come back and make it right, no cost to you.
A note for anyone comparing quotes: some Chicago contractors will quote a low number for “liner install” and then add fasteners, seam tape, and wall attachment as change orders. Under Haven Standard Clause 1, your written price covers the full scope. If it’s listed, it’s in the price.
What Drives Cost Up or Down
- Access height: A crawl space with 36 inches of clearance is a different job than one with 18 inches. Low clearance slows everything down and makes seam work harder to do correctly.
- Number of piers: Every pier means more cutting, more seam tape, more termination work. A 1920s Chicago bungalow with a dozen piers costs more to encapsulate than a simple rectangular crawl.
- Existing moisture: If the liner has failed and the ground is saturated, we may need to run a dehumidifier or install a sump basin before the new barrier goes down. That’s scope, not speculation, and it gets listed in writing before work starts.
- Material thickness: 10-mil JM liner is sufficient for most crawl spaces that won’t see foot traffic. If you store things down there or the space is used for mechanical access, 12-mil is the better call and runs slightly higher.
DIY or Call Us?
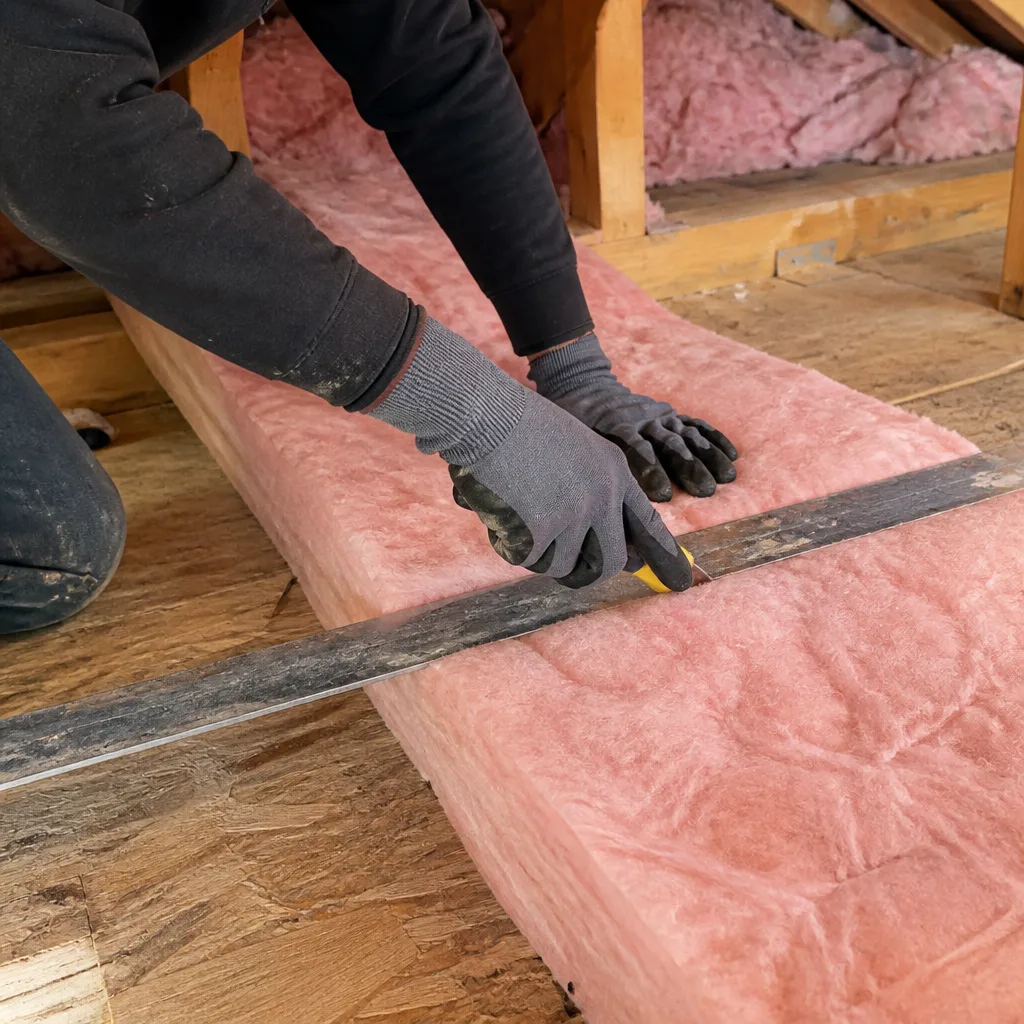
You can absolutely inspect your Johns Manville liner yourself. Grab a flashlight, open the crawl space door, and look for water pooling on the barrier, pulled-away edges at the foundation wall, and torn seam tape. Those three checks will tell you whether the liner is doing its job or just acting as a ground cover. What you shouldn’t do is try to re-tape a failed seam in a damp crawl space and call it fixed. Seam tape needs a clean, dry surface to bond properly, and if the liner has pulled away from the wall, the problem is mechanical fastening, not just the tape.
DIY encapsulation done wrong creates a worse problem than no encapsulation: a liner that traps moisture underneath it while still allowing air to circulate through gaps. That’s a mold incubator, and it’s avoidable by doing the job once, correctly. If you want an honest read on whether your existing JM liner can be salvaged or needs replacement, call (218) 261-7714. We’ll send someone out, walk the crawl space with you if you want, and give you a written price either way.
FAQs
A properly installed Johns Manville crawl space encapsulation in Chicago typically lasts 15 to 20 years, though the liner itself often remains intact long after the seam tape and mechanical fasteners have degraded. The failure point in our climate is almost always the seam and the wall termination, not the field of the liner. Call (218) 261-7714 and we can inspect your liner and tell you whether a repair will buy you years or whether replacement is the better value.
Yes, if the damage is limited to a small tear or a single failed seam and the surrounding liner is clean and dry, we can repair it with JM seam tape and mechanical re-fastening at a fraction of the replacement cost. The repair makes sense when the liner is otherwise intact and the crawl space humidity is manageable. If the liner is brittle, the seams have failed in multiple places, or groundwater is pooling, replacement is usually the more honest recommendation; call (218) 261-7714 for a written assessment.
Most Johns Manville crawl space encapsulation replacements in Chicago take one to two days from start to finish, depending on square footage and access height. We’ll give you a specific window when we provide your written price, and a named technician is assigned before the crew arrives.
We stock Johns Manville 10-mil and 12-mil reinforced liner, seam tape, and termination bar on our trucks, along with comparable Reflectix material for smaller repair jobs. That means we can usually start the work same week, not same month. Call (218) 261-7714 and we’ll confirm what you need and when we can get to it.
If your Johns Manville crawl space encapsulation has failed in Chicago, don’t wait for the smell to get worse or the floor to start cupping. Seal the holes first, then add the R-value. The numbers will tell you whether it worked. Call (218) 261-7714 for a written price before any work starts, and we’ll have a technician out to look at your crawl space this week.
Written by Wes Okafor, Owner & Lead Building Envelope Technician, Topside Attic Insulation at Topside Attic Insulation, serving Chicago and nearby areas.