
Rockwool Vapor Barrier Installation: The Chicago Owner’s Guide
Rockwool vapor barrier installation in Chicago typically runs between $1.80 and $4.25 per square foot installed, depending on whether we’re retrofitting a basement rim joist cavity, an attic kneewall, or a full crawl space encapsulation. We stock Rockwool-compatible vapor barrier membrane on our trucks and can usually schedule installation within 3 to 5 business days of your written estimate. Most owners discover the problem the same way: a musty smell that won’t leave, condensation beading on the interior side of the insulation, or a blower-door reading that shows the envelope leaking more than it should after insulation went in.
Here’s the thing about vapor barriers in Chicago that most guides skip: our climate punishes mistakes in both directions. Below-grade and rim joist areas face sub-zero dry air from outside and humid conditioned air from inside, and the wrong barrier placement moves the dew point to exactly where you don’t want it. That’s why we document conditions before we touch anything.
Key Takeaways:
- Installed cost for Rockwool-compatible vapor barrier in Chicago: $1.80-$4.25/sq ft, parts and labor included
- Proper placement depends on the assembly type: barrier goes on the warm side in most Chicago applications
- We install vapor barrier as part of a sealed envelope, never as a standalone band-aid over leaking air paths
- Written price before any work starts, per Haven Standard Clause 1, and a documented photo record when the crew leaves
Which Rockwool Models This Applies To
Rockwool doesn’t label a single “vapor barrier” product line the way some manufacturers do, and that’s the first compatibility gotcha. What you’re matching is the Rockwool insulation product’s facing requirements against the specific vapor barrier membrane. ComfortBatt and ComfortBoard are unfaced, which means they need a separate vapor barrier layer when the assembly calls for one. Safe’n’Sound is also unfaced and shouldn’t get a vapor barrier at all in most interior wall applications; adding one traps moisture between the stud bays, which is the opposite of what you want around a bathroom or home theater wall.
The identifying detail is on the batt or board edge: the product code, R-value, and the word “unfaced” or “faced” printed in black. If you see “FSK” on the facing, that’s a foil-scrim-kraft facing that functions as a vapor barrier on the warm side and doesn’t need an additional membrane. The practical rule from our Chicago jobs: if you’re holding a Rockwool batt with bare mineral wool on both sides, and it sits in an assembly that separates heated space from unheated space, it needs a separate barrier. For aftermarket membranes, we install 6-mil polyethylene that meets ASTM E1745 Class A, B, or C, and we record the class in your job file because it matters for inspection.
Signs Your Rockwool Vapor Barrier Installation Is Failing
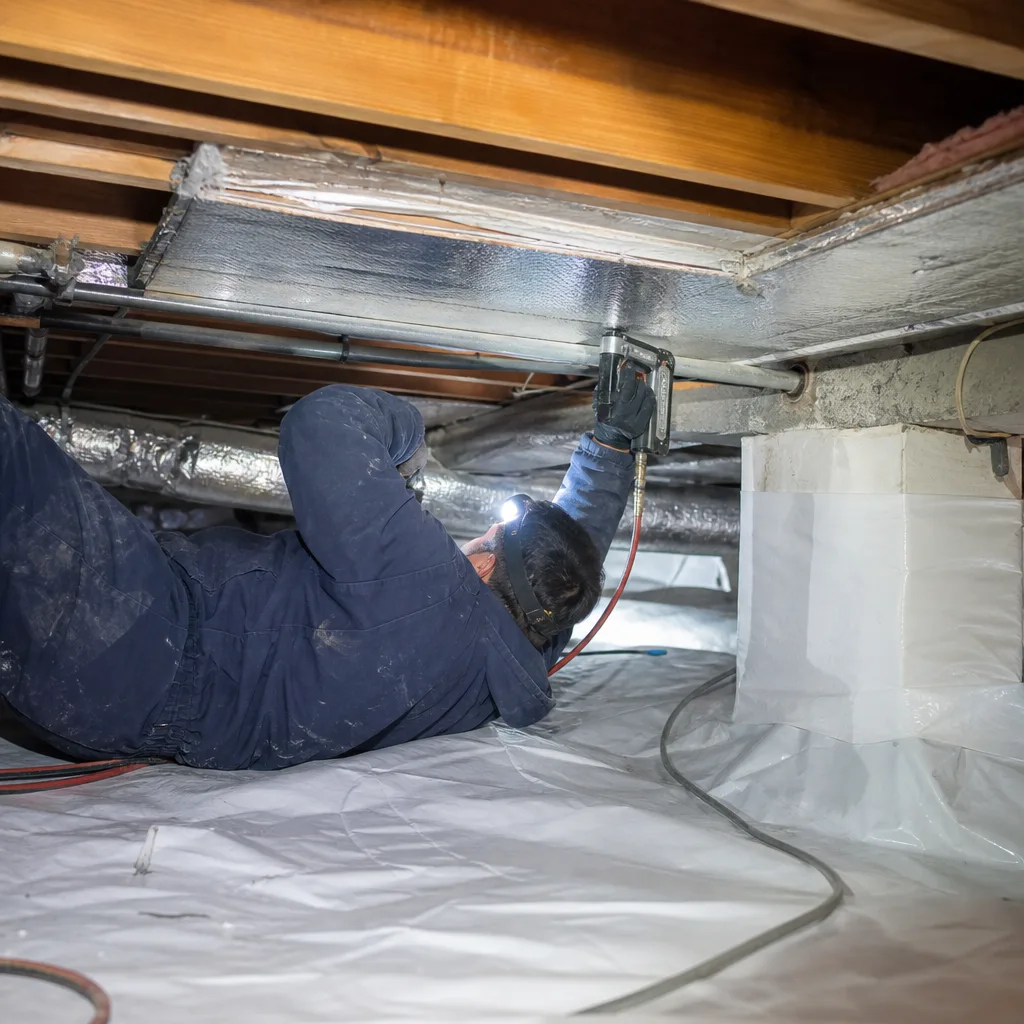
- Condensation on the interior side of the insulation with a cold snap outside. Warm, humid indoor air is hitting a cold surface behind the Rockwool, which means the barrier isn’t stopping moisture migration. We see this most often in rim joist bays where the original 6-mil poly was stapled in but never sealed at the edges.
- Musty smell in the basement or crawl space that worsens after rain. A breached or missing barrier lets ground moisture wick into the Rockwool, and mineral wool holds water longer than you’d expect. Once the batts are saturated, R-value drops and mold conditions begin.
- Visible staining or water marks on the interior wall surface behind the insulation. This is the late-stage symptom: moisture has passed through the Rockwool, through the drywall or paneling, and is now staining what you see. By this point, the barrier failed months ago.
- Insulation sagging or pulling away from the stud framing. Rockwool holds its shape well, so sagging usually means the barrier or its fasteners are pulling the batt down, or moisture weight has accumulated behind it. Either way, the assembly is compromised.
- Ice forming on rim joist surfaces in January while the room feels drafty. We’ve measured rim joist cavities in Chicago houses at below freezing while the living space sits at 70°F. No vapor barrier in place, warm air leaking through, moisture freezing on the sheathing. That’s a sealed-envelope failure, not just a barrier failure.
Wes Okafor grew up six blocks from the Portage Park field house and has been doing insulation work in Chicago for over twenty years. What he’s learned in that time is that a vapor barrier failure in our climate is rarely just the barrier: it’s almost always paired with an air leak at the same assembly. Fix the barrier without sealing the air path, and you’ll be back in two winters.
Replacement Cost & What’s Included
For a typical Chicago single-family home, here’s what installed vapor barrier replacement runs, parts and labor included:
- Rim joist vapor barrier replacement: $2.50-$4.25/sq ft, depending on access (basement ceiling vs. crawl space) and how many penetrations need air sealing first
- Crawl space vapor barrier over existing grade: $1.80-$2.75/sq ft for 6-mil poly, higher for 10-mil or reinforced barrier
- Basement wall interior barrier with Rockwool insulation: $3.00-$4.00/sq ft, including fasteners, seam tape, and corner detailing
The range comes down to three things: access (a 24-inch crawl space costs more in labor than a full-height basement), existing air leaks at the same assembly (sealing those is mandatory before we lay barrier, and it’s priced into the written estimate), and whether we’re removing failed material first. Every quote is a flat price with a written scope, per Haven Standard Clause 1. The 365-Day Done Right Promise applies to the completed work, and we hand you a printed report with pre- and post-installation air leakage numbers on assemblies where we run the blower door.
DIY or Call Us?
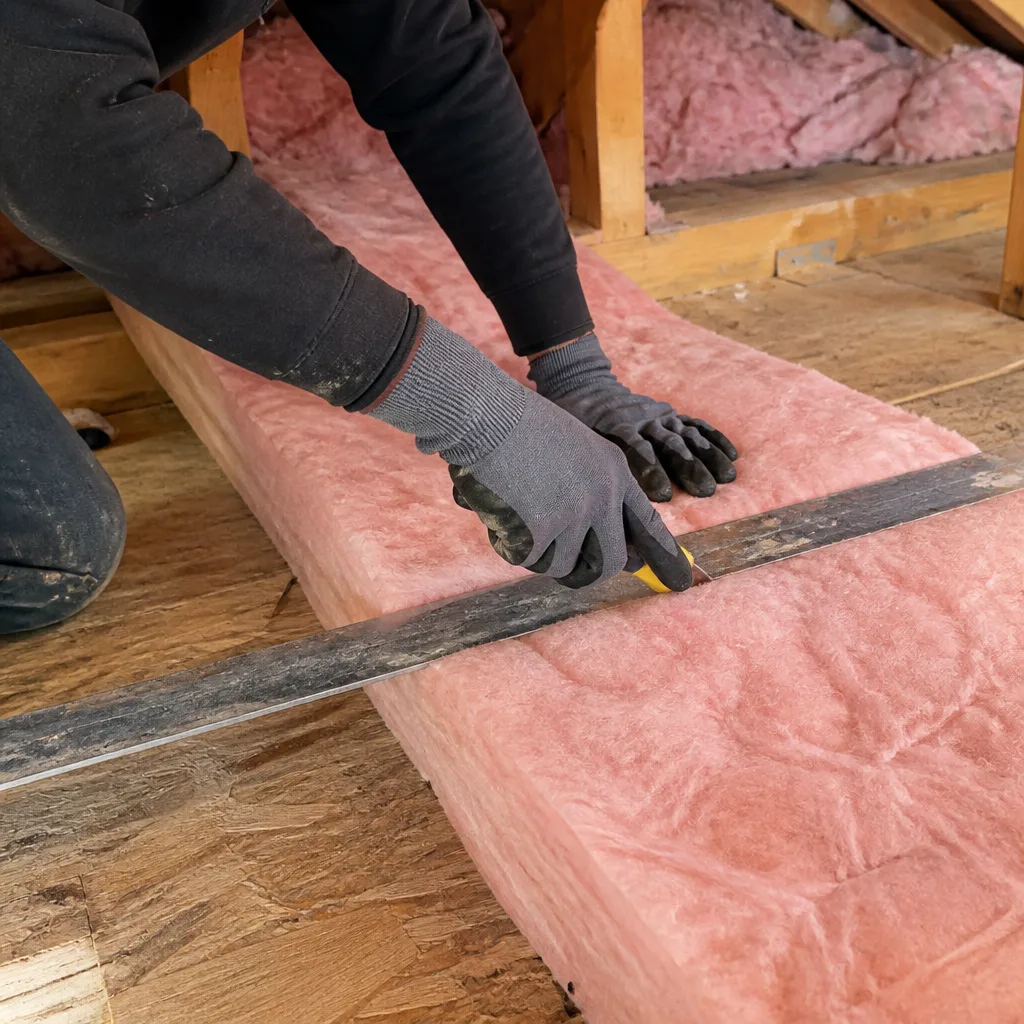
What a homeowner can safely do: identify which Rockwool product they have, check whether it’s faced or unfaced, and look for the condensation, staining, or mold signs listed above. Pulling back a small section of insulation to photograph what’s behind it is fine and helps us scope the work before we arrive.
What goes wrong as DIY: vapor barrier that’s stapled in without sealing overlapping seams or edges, barrier installed on the wrong side of the assembly, unfaced Rockwool left exposed to ground moisture in a crawl space, and barrier installed over an unsealed air leak. Each of these creates a moisture trap inside your wall or floor system, and in Chicago’s winter, that moisture freezes and thaws on repeat. A failed DIY vapor barrier is usually more expensive to undo than it would have been to install correctly the first time. If you want an honest read on what you’ve got, call (218) 261-7714 and we’ll send a technician to assess it, no pressure, with a written price before anything starts.
FAQs
A properly installed 6-mil polyethylene vapor barrier lasts 20 to 30 years in a Chicago assembly, provided the air sealing behind it was done correctly and the barrier isn’t exposed to UV light or physical wear. The Rockwool itself can last the life of the building, but the barrier is the sacrificial layer, and in rim joist bays with active air leaks, we’ve seen barriers fail in under a decade. Call (218) 261-7714 if you want us to check yours.
Small tears or seam separations can be taped with a compatible vapor barrier tape, but if moisture already saturated the Rockwool behind it, the insulation needs to come out and the entire assembly needs to be dried down before any patch goes on. Repairs make sense for limited damage caught early; full replacement is the honest call when staining or odor is already present. Send us photos and we’ll give you a straight answer before anyone schedules a visit.
A rim joist vapor barrier retrofit in a typical Chicago basement takes one day for a two-person crew, including air sealing at the top plates and penetrations. Full crawl space encapsulation with vapor barrier runs one to three days depending on square footage and access. We schedule based on the written scope you approve, and you’ll know the day before when the crew is arriving.
Yes. We stock 6-mil polyethylene vapor barrier meeting ASTM E1745, foil-scrim-kraft barrier for warm-side applications, vapor barrier seam tape, and the fasteners needed for below-grade and rim joist work. We also work with materials from Owens Corning, Johns Manville, Knauf, CertainTeed, Icynene, Demilec, GreenFiber, and Reflectix, so we’re not locked into one product when a different material suits your assembly better. Call (218) 261-7714 for a free estimate and we’ll confirm what’s on the truck before we roll.
Written by Wes Okafor, Owner & Lead Building Envelope Technician, Topside Attic Insulation, serving Chicago and nearby areas.