
GreenFiber Radiant Barrier Installation: The Chicago Owner’s Guide
GreenFiber radiant barrier installation in Chicago typically runs $1.75 to $3.25 per square foot installed, with most single-family homes landing between $1,400 and $3,800 total depending on attic size and access. We stock GreenFiber-compatible radiant barrier material on our trucks and can usually complete a full attic installation in one day. Most owners discover their radiant barrier has failed when they climb into the attic in July and feel heat radiating through the roof deck like an open oven door, or when a section tears loose from the rafters and drapes across the insulation below.
Radiant barrier works by reflecting heat before it can transfer into your attic air. When the barrier is damaged, torn, or installed with the wrong side facing the air gap, that reflection stops and your attic becomes a heat sink that pushes your air conditioner harder all summer. In Chicago, where attic temperatures routinely exceed 140°F in July and August, a failed radiant barrier means your upstairs bedrooms run six to eight degrees warmer than the rest of the house. We see this pattern regularly in bungalows and two-flats across the Northwest Side, where roof lines are steep and attic access is tight.
Which GreenFiber Models This Applies To
GreenFiber produces radiant barrier in two primary forms: a single-sided foil-faced kraft product and a double-sided foil product designed for either stapling to rafters or laying over existing insulation. The single-sided product is the one we most often replace in Chicago attics, because it was marketed heavily in the 2015-2020 window for retrofit applications. It has a perforated kraft backing and an aluminum-facing layer that carries the GreenFiber logo printed faintly on one edge.
The compatibility gotcha: GreenFiber’s double-sided barrier requires an air gap on both sides to function as designed. If it was installed flat against the roof deck or laid directly on top of blown-in insulation with no space beneath, it performs as a vapor barrier and not a radiant barrier. We find this on roughly one in four Chicago homes where a previous contractor or homeowner installed it themselves. The fix is not more barrier; it’s removing and reinstalling it correctly, or switching to the single-sided product stapled to the rafter faces.
For identification: measure the width. GreenFiber radiant barrier ships in 48-inch and 60-inch rolls. If your roll is 48 inches wide and has a kraft backing you can see through when held to light, it’s the retrofit single-sided product. If it’s 60 inches wide with foil on both faces and no visible kraft, it’s the double-sided commercial product. We also stock and install Reflectix radiant barrier for homeowners who need a different R-value configuration than what GreenFiber offers, but the two are not interchangeable without adjusting the air gap.
On the OEM versus aftermarket question: radiant barrier is a commodity material. The GreenFiber name on the roll matters less than the foil thickness and the perforation pattern. A quality aftermarket single-sided barrier with 99% pure aluminum facing and 0.000285-inch foil thickness will perform identically to the GreenFiber-branded equivalent. We carry both and price the aftermarket lower, which saves you money without changing the thermal result. What we refuse to install is the thin mylar-lookalike product sold in some big-box stores, because it tears during installation and sags within two Chicago winters.
Signs Your GreenFiber Radiant Barrier Installation Is Failing
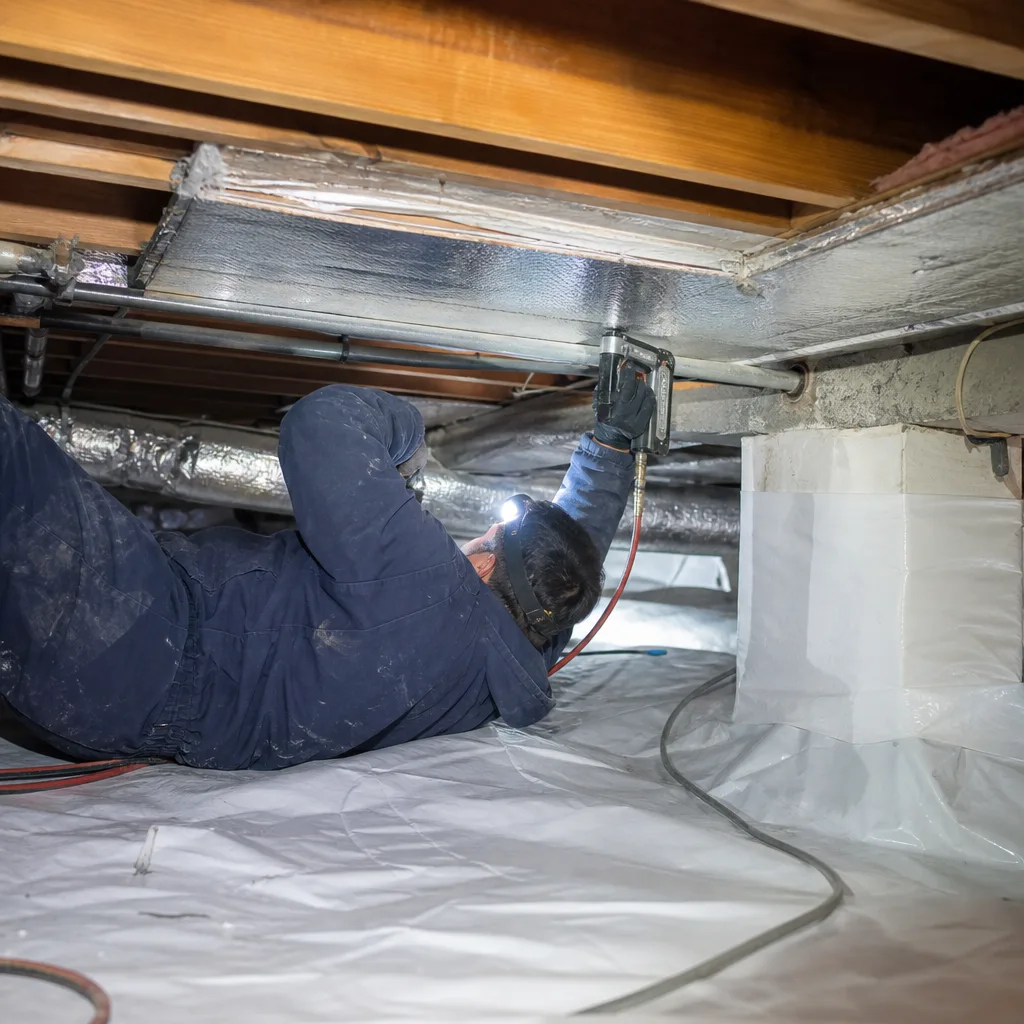
- Sections hanging loose from the rafters. Staples pull through the kraft backing when the barrier absorbs moisture and expands. In Chicago attics with poor ventilation, the kraft layer gets brittle after four to five years and the barrier begins to separate from its attachment points.
- Noticeable temperature difference between rooms. A properly installed radiant barrier reduces attic heat transfer by 15 to 20 degrees on a sunny day. If your second-floor bedrooms facing west are ten degrees hotter than the rest of the house by late afternoon, the barrier has likely failed or was never given the required air gap.
- Tears and punctures from attic traffic. Anyone who has crawled through the attic to service a furnace or run a cable has probably stepped on or snagged the barrier. Holes larger than a few square inches don’t destroy the barrier’s function, but a torn section dangling onto the insulation below effectively removes that entire zone from service.
- Condensation on the underside of the roof deck in winter. This is the most expensive failure mode. If the barrier was installed without a proper air gap, or if it’s trapping moisture against the sheathing, you’ll see water spots, frost, or actual dripping in January and February. In Chicago, that moisture migrates into the framing and can rot your roof deck from the inside.
- Dusty or oxidized foil surface. Aluminum foil oxidizes slowly, but in attics with high humidity or where vermiculite insulation was disturbed, the oxidation accelerates. Oxidized foil loses reflectivity and the barrier’s performance degrades measurably, even if it still looks intact.
Replacement Cost & What’s Included
Installed GreenFiber-compatible radiant barrier in the Chicago market runs $1.75 to $3.25 per square foot. The range depends on three factors: attic square footage, rafter spacing and complexity, and whether we’re removing failed material first. For a typical 1,100-square-foot Chicago bungalow attic, that translates to roughly $1,900 to $3,600 all-in. The lower end applies to simple, open attics with standard 24-inch rafter spacing. The higher end covers attics with dormers, valleys, ductwork, or existing failed barrier that requires careful removal before installation.
Every quote is a written price before any work starts, per Haven Standard Clause 1. That price includes material, labor, cleanup, and the photo record you get when the crew leaves. We don’t quote a low number and then add a “materials adjustment” on the day of install. The written scope lists exactly what we’re installing, the square footage, the material we’re using, and what the attic will look like when we’re done.
There’s a labor component worth understanding: radiant barrier installation in an unconditioned Chicago attic in August is hot, physically demanding work. Properly stapling barrier to rafter faces without sagging between fasteners takes experience. A first-time installer will leave waves and dips, and those waves create inconsistent air gaps that reduce the barrier’s effective coverage. Our crews install this material weekly during the cooling season and we can tell you before we start whether your rafter spacing will create any coverage gaps.
The 365-Day Done Right Promise applies to all radiant barrier work. If the barrier sags, tears at the fastening points, or separates from the rafters within a year of installation, we return and make it right under the written warranty you received before anyone lifted a tool.
DIY or Call Us?
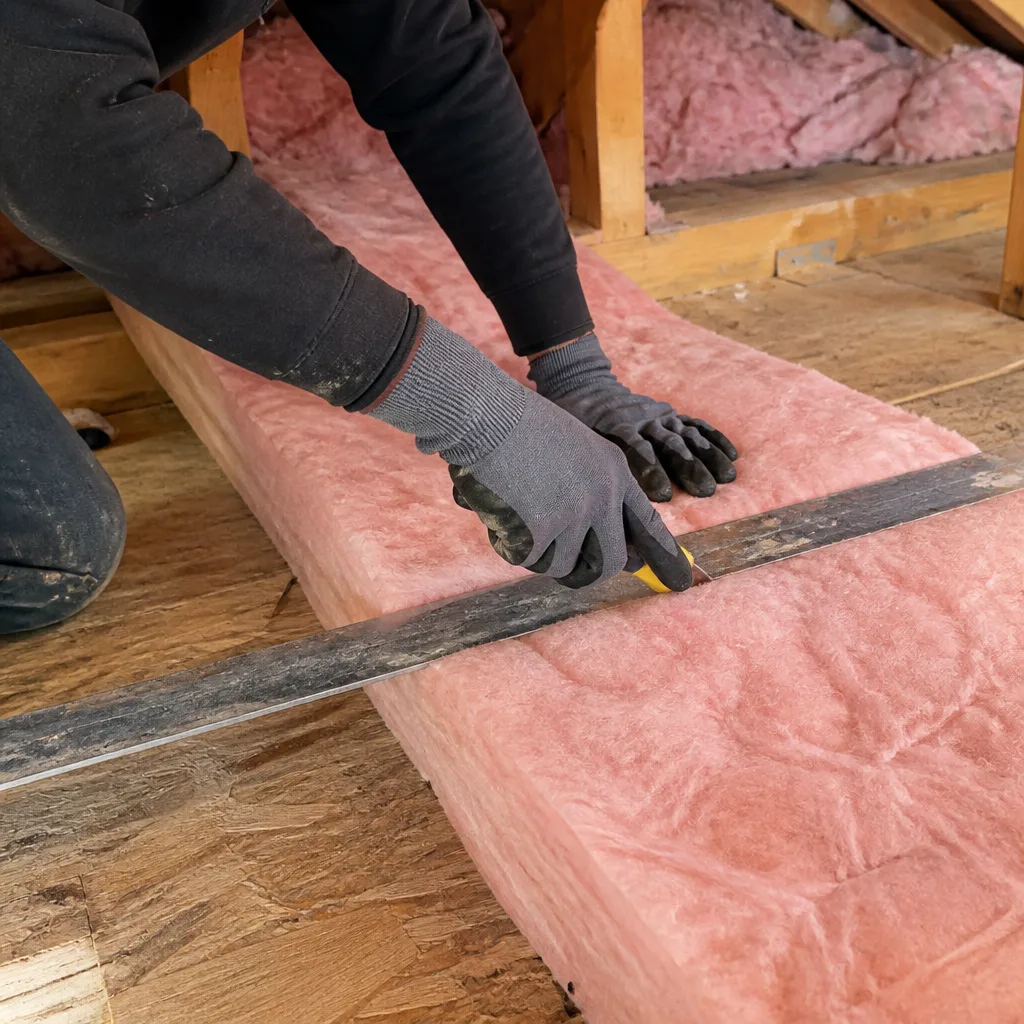
Radiant barrier installation is not inherently dangerous, but it is awkward, hot, and easy to get wrong in ways that don’t show up until your cooling bill arrives. An owner can safely inspect their current barrier: wear a dust mask, bring a flashlight, and avoid stepping between joists onto the drywall below. Look for the failure signs above. Take pictures. Measure the width of the roll if any product label remains.
What we’d caution against is buying a roll from a home center and installing it yourself in a Chicago attic in the middle of summer. The heat in an unconditioned attic in July routinely exceeds 130°F; heat exhaustion comes on fast. Stapling overhead for three hours is genuinely hard on your shoulders and back. And if the barrier is installed without the air gap or with the foil facing the wrong direction, you’ll have spent a weekend and several hundred dollars to reduce your attic’s performance instead of improving it. We’ve corrected enough DIY installations to say that plainly.
If you’d rather spend the weekend doing something other than staple-gun work in a 130-degree attic, call us at (218) 261-7714. We’ll come out, take measurements, and hand you the written price before you decide anything.
FAQs
In a properly ventilated attic, GreenFiber single-sided radiant barrier holds up for 10 to 15 years before the foil begins to oxidize or the kraft backing tears at the staple points. Chicago’s humidity swings shorten that lifespan compared to drier climates. In attics with poor ventilation or significant roof leaks, we’ve seen barriers fail in as little as four years. If yours is tearing or sagging before year five, the attic has a moisture problem we should diagnose before replacing the barrier. Call (218) 261-7714 and we’ll inspect it.
Small tears up to a few square inches can be patched with foil tape without meaningfully reducing performance. Anything larger, or any section that has pulled free of its staples over more than a few square feet, is better off replaced because the material has likely stretched and won’t re-tension properly. We’ll tell you honestly which approach makes sense before we quote anything.
Most Chicago attics between 800 and 1,500 square feet are completed in one business day. Attics with complex rooflines, tight access, or failed material that needs removal first can run into a second day. We’ll give you a schedule on the written scope before work starts, so you know exactly what to expect.
Yes. We carry both GreenFiber-compatible single-sided and double-sided radiant barrier, plus Reflectix for homes that need a different configuration. If your attic requires material not on the truck, we’ll have it the next business day. You’ll never wait weeks for a roll of radiant barrier.
Written by Wes Okafor, Owner & Lead Building Envelope Technician, Topside Attic Insulation at Topside Attic Insulation, serving Chicago and nearby areas.
Need a price for your attic? Call (218) 261-7714. A live person answers, 24/7, and you’ll get a written estimate before any work begins.