
GreenFiber Vapor Barrier Installation: The Chicago Owner’s Guide
GreenFiber vapor barrier installation in Chicago typically runs between $1,800 and $4,200 for a full crawl space or basement perimeter, with the barrier material itself accounting for roughly $0.55 to $0.90 per square foot and labor, sealing, and fastener work making up the rest. Most homeowners discover they need this work after pulling back insulation and finding condensation, efflorescence on foundation walls, or a musty smell that won’t quit. We stock GreenFiber-compatible vapor barrier material on our trucks and can typically schedule installation within three to five business days.
Here’s the pattern we see in Chicago homes year after year: a homeowner notices damp insulation batts, peeling paint near the sill plate, or rust on ductwork, and the root cause traces back to a vapor barrier that was either installed incorrectly, punctured during a previous repair, or never installed at all. Chicago’s freeze-thaw cycle punishes vapor barriers harder than most climates. When the ground temperature swings from frozen to thawed eight or ten times each winter, moisture wicks up through the soil and presses against whatever barrier is there. A 6-mil poly sheet that would last decades in Arizona might fail in six or seven Chicago winters if the seams weren’t sealed right.
Key Takeaways
- GreenFiber vapor barrier installation in Chicago costs $1,800 to $4,200 installed for most homes, depending on square footage, access, and whether the existing barrier needs removal.
- At least 60% of the “failed” vapor barriers we inspect were never the problem; the problem was missing air sealing at the rim joist and sill plate.
- We’re an independent contractor, not affiliated with GreenFiber. We install GreenFiber-compatible barrier material and also stock Reflectix for specific radiant and condensation applications.
- Every GreenFiber vapor barrier job gets a written price before work starts and a documented photo record when we leave. No exceptions.
Which GreenFiber Models This Applies To
GreenFiber doesn’t manufacture vapor barrier as a standalone retail product line the way it does blown-in cellulose insulation. What most Chicago homeowners mean when they search this term is either a vapor barrier installed alongside GreenFiber cellulose in a crawl space or attic assembly, or a GreenFiber insulation job in which the vapor barrier component has failed and needs replacement. Both scenarios land in the same place: the barrier material needs to be matched to the insulation depth, the framing type, and the specific moisture load of the space.
The compatibility gotcha we run into constantly: GreenFiber cellulose absorbs and releases moisture differently than fiberglass or foam. If you pair GreenFiber with the wrong class of vapor barrier, you can trap moisture inside the insulation instead of letting it dry toward the conditioned space. In Chicago’s climate zone 5, vapor barriers on the warm side of a wall assembly need to be Class II or Class III – typically a smart vapor retarder or a 6-mil poly with specific perm ratings. A Class I barrier, like 6-mil poly installed on the wrong side of the assembly, will condense water against the GreenFiber and rot the framing over time. We see this in older Chicago bungalows and two-flats where a well-meaning contractor stapled poly over the studs before the drywall went up, and the GreenFiber behind it has been wet for a decade.
For the barrier itself, the decision is OEM versus quality aftermarket. GreenFiber does not sell a branded vapor barrier sheet, so this isn’t a genuine OEM question in the way it would be for a furnace control board or a water heater thermocouple. What matters is the material spec: at minimum 6-mil polyethylene for ground contact in crawl spaces, reinforced poly (10-mil or 12-mil) for high-traffic crawl spaces or homes with known groundwater issues, and a smart vapor retarder product for wall assemblies where GreenFiber cellulose is the insulation. We stock all three classes on our trucks, along with seam tape, fasteners, and termination bar for masonry walls, which is the standard way to terminate a vapor barrier at the top of a Chicago foundation wall.
Signs Your GreenFiber Vapor Barrier Installation Is Failing
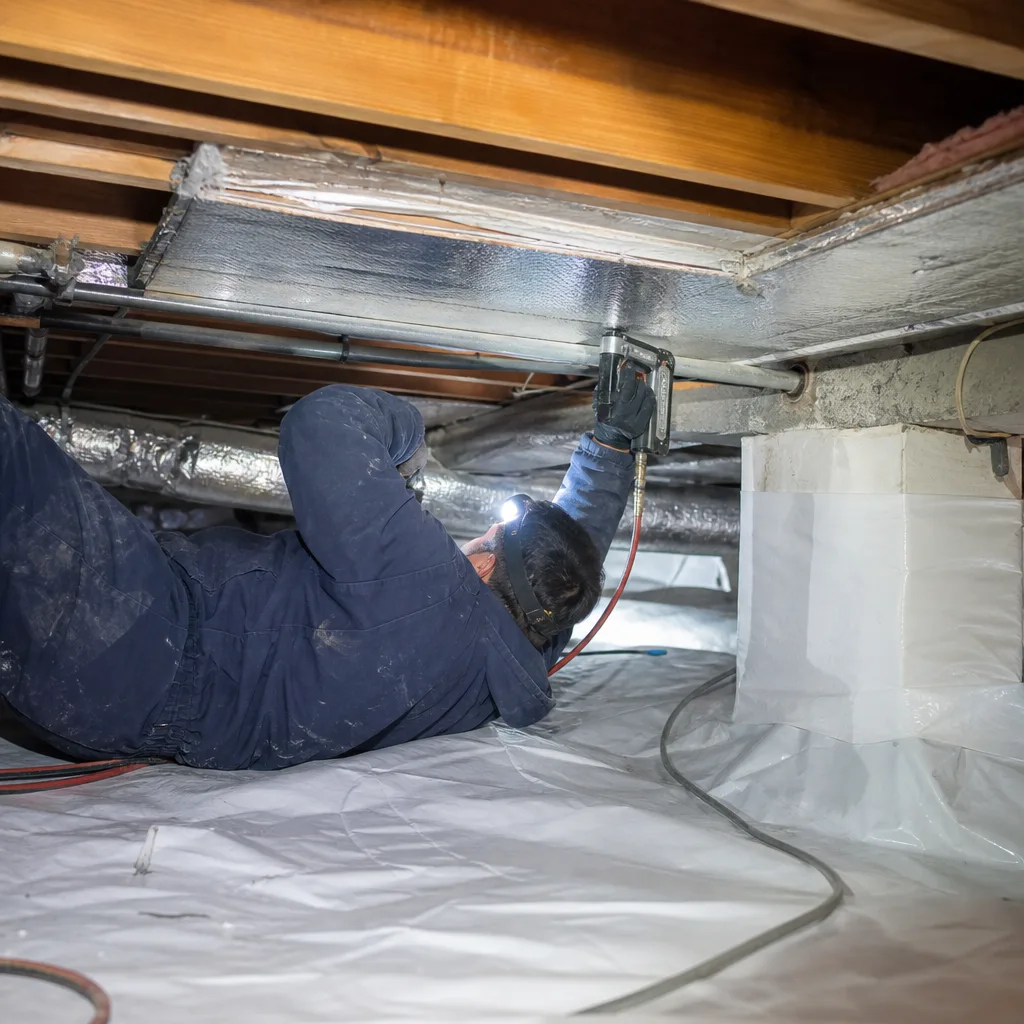
- Condensation on the underside of the barrier. When moisture is trapped below the poly, you’ll see water beading on the inside surface when you lift a corner. This means the barrier is doing its job keeping moisture out of the insulation, but the moisture below has nowhere to go, which usually points to missing perimeter drainage or a high water table in the neighborhood, not a barrier defect.
- Damp or discolored GreenFiber cellulose above the barrier. GreenFiber is treated with borates for fire and pest resistance, but it still shows water staining clearly. If you see dark patches or clumping in the cellulose where it meets the barrier, water is wicking around the edges of the poly or through a seam that’s pulled apart.
- Efflorescence on the foundation wall above the barrier line. That white, chalky deposit is dissolved minerals left behind when water evaporates from the concrete. If it appears above where the barrier terminates, the barrier isn’t tall enough or isn’t sealed to the wall, and capillary action is pulling moisture up past the top edge.
- Musty smell that gets worse in spring. Chicago’s spring thaw pushes groundwater up, and a barrier with a failed seam or puncture will let that moisture into the insulation cavity. The smell is the first thing most people notice, often months before they see any visible dampness.
- Rust on ductwork or plumbing in the crawl space. If the barrier is compromised, relative humidity in the space climbs, and metal components start to oxidize. In Chicago, where crawl spaces can sit at 80% RH from May through September, a torn barrier shows up as rust on ducts within two or three summers.
Replacement Cost & What’s Included
For a typical Chicago crawl space between 800 and 1,500 square feet, GreenFiber-compatible vapor barrier installation runs $1,800 to $4,200. The low end covers a straightforward replacement: remove the old barrier, grade the surface, lay 6-mil poly, seal seams with tape, terminate at the foundation wall with termination bar and caulk. The high end accounts for removing and disposing of old contaminated barrier material, installing 10-mil or 12-mil reinforced poly, adding a drainage mat in areas where the water table is high, and air sealing the rim joist before anything else goes in.
What drives the range in Chicago specifically: access. If the crawl space has 18 inches of clearance and a hatch that’s been there since 1952, labor hours go up. If there’s standing water, we have to address drainage before the barrier can go down, and that’s a separate line item. Our written estimate breaks out the barrier material cost, the sealing and fastening labor, and any site prep separately, so you can see exactly what you’re paying for. Every GreenFiber vapor barrier job is covered by our 365-Day Done Right Promise, and you get a documented photo record of the install when we leave. Under the Haven Standard, the price we quote is the price you pay; no change orders unless something structural changes the scope.
| Scope | Typical Chicago Price Range |
|---|---|
| Replace 6-mil barrier in 800-1,000 sq ft crawl space | $1,800 – $2,400 |
| Replace with 10-mil reinforced poly, 1,000-1,500 sq ft | $2,600 – $3,400 |
| Full encapsulation with drainage mat, rim joist air sealing | $3,500 – $4,200 |
DIY or Call Us?
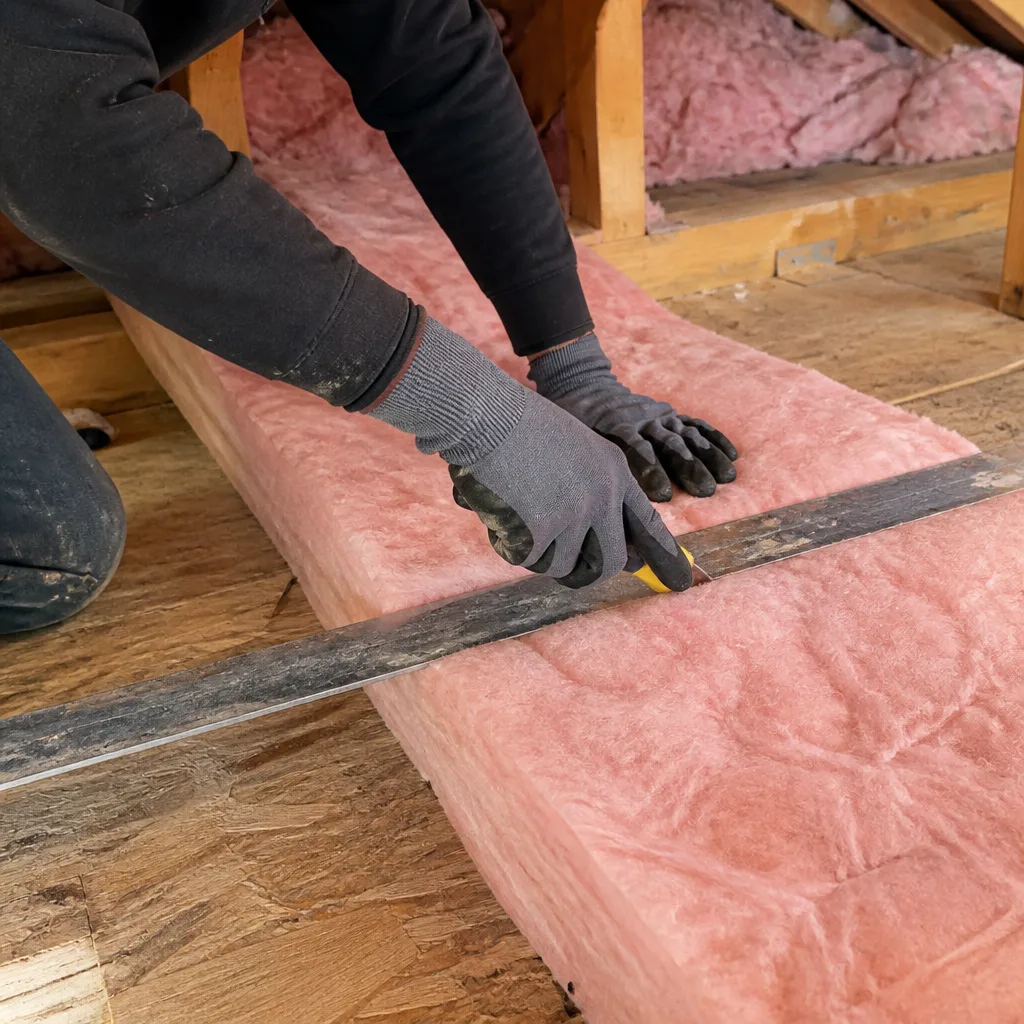
You can safely inspect a GreenFiber vapor barrier yourself, and we encourage it. Pull back a corner, check for dampness underneath, look for tears at fastener points and at the termination bar, and run a hand along the seams. That’s all within a homeowner’s reach. Installing or replacing the barrier is a different matter, and not because it’s dangerous in the way garage-door springs are dangerous. It’s because the failure mode is silent. A seam that isn’t taped properly, a poly sheet that’s the wrong perm rating for a Chicago wall assembly, a barrier that’s not sealed to the foundation wall at the top, none of these will announce themselves. You’ll see the problem three years later, when the GreenFiber above the barrier is wet and your heating bills are 20% higher than they should be.
Wes Okafor ran a blower-door test on a house in Portage Park last winter where the crawl space barrier looked fine from the hatch. The ACH50 reading came back at 18, roughly triple what a 1970s Chicago home should run. Once we pulled the barrier back, the rim joist looked like a colander. Seal the holes first. Then add the R-value. The numbers will tell you whether it worked. If you’re not sure whether your barrier is the problem, call (218) 261-7714, and we’ll send a technician who can read the numbers with you.
FAQs
A properly installed 6-mil vapor barrier in a Chicago crawl space lasts 8 to 12 years on average. Reinforced 10-mil or 12-mil poly lasts 15 to 20 years. The Chicago-specific killer is freeze-thaw cycling in the soil, which shifts the ground under the barrier and stresses seams and fasteners more than a milder climate would. If your barrier is on the older end of that range, call (218) 261-7714 for a moisture assessment before you assume it’s still working.
Yes, a tear of 6 inches or less can usually be repaired with overlapping poly and vapor tape, and we’ll do that on a service call if the rest of the barrier is in good shape. But if you have multiple tears, failing seam tape, or a barrier that’s degrading and flaking, patching is a band-aid. In a Chicago crawl space, a patched barrier with failing seams will let moisture through within a year or two. We’ll give you an honest assessment on the phone when you call.
A standard replacement in a crawl space under 1,000 square feet takes one day, sometimes two if the old barrier needs to be cut into sections and bagged for disposal. Full encapsulation with rim joist air sealing typically runs two to three days. We’ll schedule a text update when the crew is on the way, and you’ll have a photo log of the completed work by the time they leave.
We stock GreenFiber-compatible vapor barrier material in 6-mil, 10-mil, and 12-mil on our trucks, plus seam tape, fasteners, and termination bar. We also stock Reflectix for radiant barrier and condensation applications where that’s the better material choice. There’s no waiting on a supplier delivery for a standard job. Call (218) 261-7714 for a written quote; estimates are free, and you’ll have a flat price before any work starts.
Written by Wes Okafor, Owner & Lead Building Envelope Technician, Topside Attic Insulation at Topside Attic Insulation, serving Chicago and nearby areas.