
Knauf Vapor Barrier Installation: The Chicago Owner’s Guide
Knauf vapor barrier installation in Chicago typically runs between $1,800 and $4,600 for a standard crawl space or basement, installed, and our crews stock Knauf-compatible 6-mil, 10-mil, and 12-mil poly sheeting on the truck so most jobs are done same day. The most common way Chicago homeowners discover a vapor barrier has failed is a musty smell that won’t leave the first floor of the house, followed by condensation on the walls above the crawl space or damp spots on carpet seams where they meet baseboards.
A vapor barrier does one job: it slows moisture moving from the ground into your home’s air. Knauf’s product line is what we reach for when a job calls for poly sheeting rather than a spray-applied membrane because it holds up under Chicago’s seasonal swings. That said, we’re an independent contractor, not affiliated with Knauf, and we carry material from Owens Corning, Johns Manville, Rockwool, CertainTeed, and GreenFiber as well. The Knauf sheet gets used when the specs call for it, and we’ll tell you why or why not before the first cut.
Here’s what most Chicago owners actually want to know. If you’re standing over a crawl space hatch right now, skip ahead to the signs section. If you already know your barrier failed and want a price, jump to the cost section.
Which Knauf Models This Applies To
The Knauf vapor barrier product most Chicago homeowners run into is the Knauf Insulation HydroBatt and the companion poly sheeting line sold in rolls. HydroBatt is a mineral wool batt with a water-repellent treatment, but the “vapor barrier installation” call we make most often involves the poly sheeting applied to crawl space floors, basement walls, and the interior side of exterior walls before drywall goes up. Knauf’s 6-mil sheeting measures 0.006 inches thick and comes in rolls 10 to 20 feet wide, with 10-mil and 12-mil options for crawl spaces with higher ground moisture.
The compatibility gotcha most owners miss: a vapor barrier is only as good as its edge treatment. A sheet laid flat on a crawl space floor with overlapped seams but no tape or mechanical fastening is doing maybe 40 percent of its job. Knauf specific tape and mastic options exist, and the spec sheets call for 12-inch minimum overlap on seams in ground-contact applications. If your barrier was installed by a previous owner, look for the manufacturer stamp printed every few feet along the roll edge. No stamp usually means a cheaper generic 4-mil sheet, which has a shorter service life in Illinois, especially under a house with clay soil that holds water against the foundation through spring.
OEM Knauf sheeting versus a quality aftermarket 10-mil poly: the honest answer is that installation quality matters more than the brand stencil. We’ve pulled plenty of failed barriers where the material was fine but the seams were never sealed and the edges were never brought up the foundation wall at least 6 inches. That’s the detail that separates a 30-year barrier from a 6-year waste of money.
Signs Your Knauf Vapor Barrier Installation Is Failing
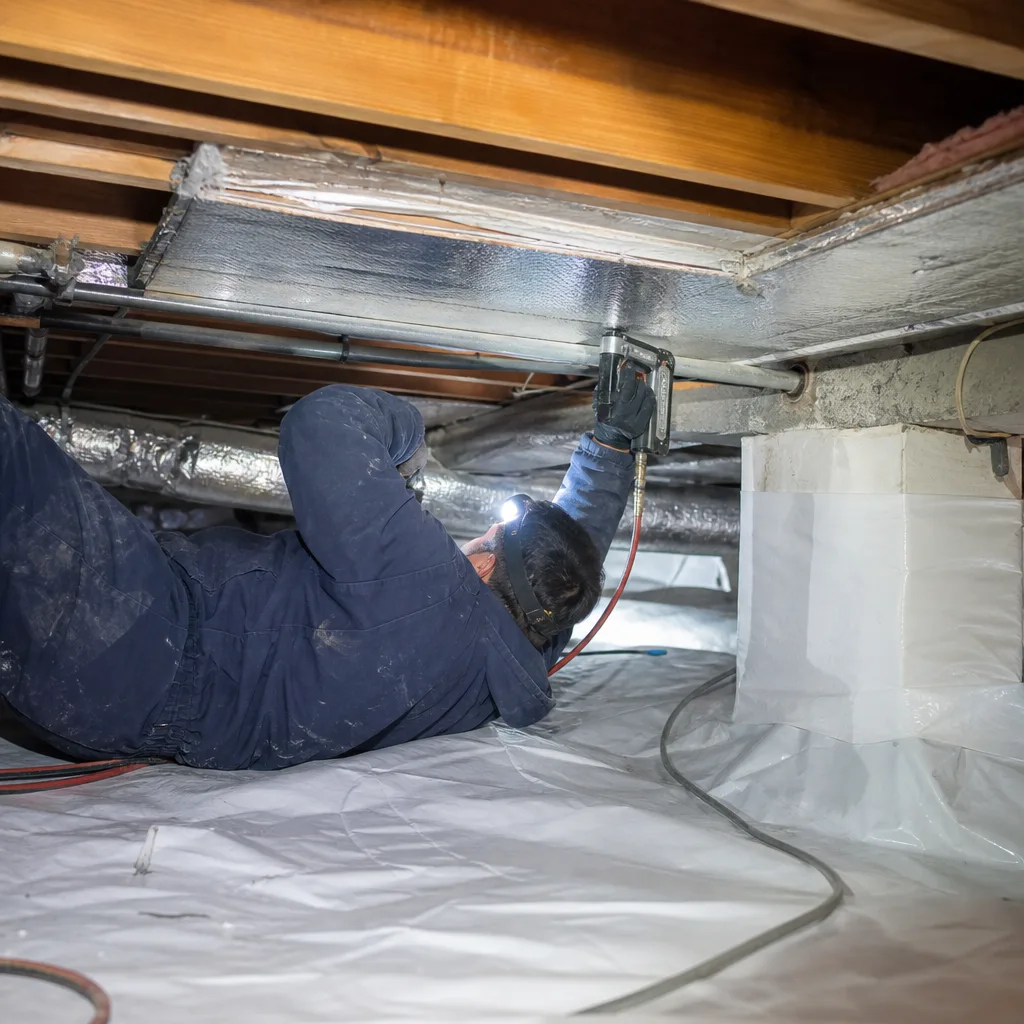
- Persistent musty smell on the first floor, stronger in summer. Warm air rises and pulls crawl space air up through floor penetrations when the AC runs. The smell follows the air.
- Cupping or warping hardwood floors over a crawl space. Moisture moves from the ground into the subfloor, and wood reacts. The barrier either has holes, has torn at the seams, or was never extended up the foundation walls.
- Visible condensation on insulation or ductwork in the crawl space. Ground moisture evaporates and hits the cooler surfaces above. This is the clearest sign the barrier isn’t doing its job.
- Increased heating bills with no other obvious cause. Damp air under the house forces the furnace to work harder. An 1,800-square-foot home with a failed barrier can burn noticeably more gas in January. Wes Okafor has pulled blower-door numbers on houses in Portage Park and Irving Park where rim joist air leaks combined with ground moisture pushed ACH50 readings into the range of a 1970s build, roughly triple what a weatherized home should read.
- Mold staining on the back side of first-floor baseboards or bottom wall plates. The wall plates wick moisture directly from the ground when the barrier stops at the foundation wall instead of running up it. In cement block foundations with mortar joints, this wicking is steady, and paint starts to bubble within a season or two.
Replacement Cost & What’s Included
Most Knauf vapor barrier replacement jobs in Chicago land between $1,800 and $4,600 installed, depending on square footage, barrier thickness, and how much of the old material needs to come out first. A 1,000-square-foot crawl space with a 10-mil barrier, taped seams, and the sheet run 12 inches up the foundation wall usually sits around $2,800 to $3,400. Basements with exposed wall application run higher because you’re working around mechanicals and vertical surfaces.
Here’s the line-item breakdown for a typical 1,000-square-foot Chicago crawl space:
| Line Item | Typical Range |
|---|---|
| Remove and dispose of old barrier | $300 - $600 |
| 10-mil Knauf-compatible poly sheeting (material) | $500 - $900 |
| Seam tape, fasteners, wall terminations | $200 - $450 |
| Labor (2-person crew, one day) | $1,600 - $2,300 |
| Ground prep and leveling (if needed) | $200 - $500 |
Every job starts with a written price before any work begins, and the scope includes the barrier’s thickness, the seam treatment, and exactly where the sheet terminates at the wall. You get a documented photo record when the crew leaves, and if airflow matters on your job, before-and-after blower-door readings so you can see the number change. All completed work is covered by our 365-Day Done Right Promise. That means if something isn’t right, we make it right, no runaround.
DIY or Call Us?
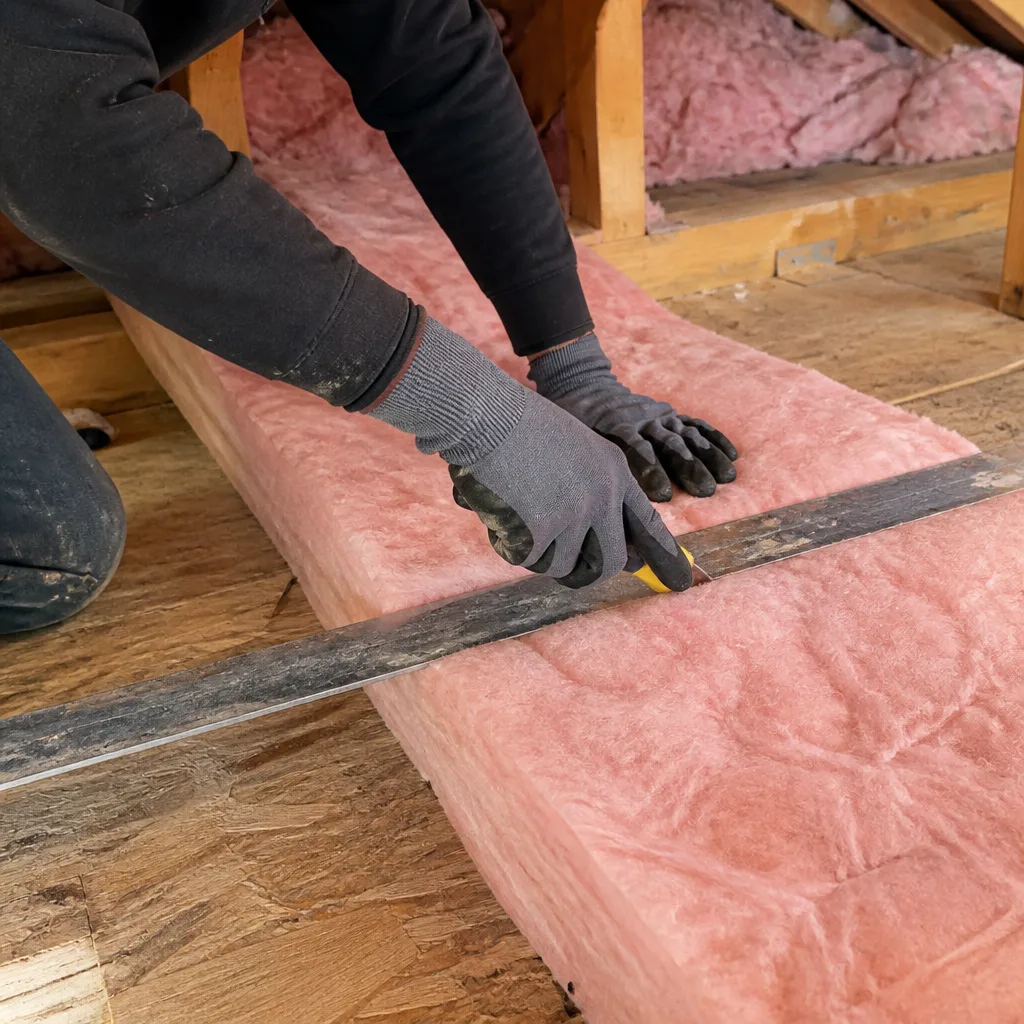
What you can safely do: pull back a corner of the existing barrier and check whether the ground under it is visibly wet, whether the sheet has torn at the seams, and whether it runs at least 6 inches up the foundation wall. Document what you see with photos. That’s useful, and it costs you nothing.
What goes wrong with DIY: moisture never travels alone. A crawl space with a failed barrier almost always has rim joist air leaks, and putting a new sheet down without sealing those leaks first means you’ll rebuild the same problem in a different spot. We seal the air boundary first, then install the barrier, in that order. Every time. If you’re in Chicago and want a straight answer on whether your barrier actually failed or whether a rim joist full of crumbled fiberglass is doing the damage, call (218) 261-7714. We’ll give you a written price, and you’ll know what leaving looks like before we arrive.
Seal the holes first. Then add the R-value. The numbers will tell you whether it worked.
FAQ
A properly installed 10-mil Knauf vapor barrier in a Chicago crawl space should last 25 to 30 years, while 6-mil sheeting installed with sealed seams typically lasts 15 to 20 years. Clay soil, standing water after storms, and foot traffic from plumbers or HVAC techs shorten that lifespan. The fastest killer is sunlight during construction exposure, but that’s rare in retrofit work. If your barrier is torn in multiple places and you’re seeing damp spots on the ground under it, it’s done. Call (218) 261-7714 for a written replacement price.
A vapor barrier with one or two small tears can be patched with compatible tape and a section of the same mil thickness, and we do this on jobs where the rest of the sheet is intact. The patch only works if the surrounding sheet is still in good shape, the seams are still sealed, and the edges still run up the wall. If the barrier was installed wrong from the start, patching just buys you a few years. We’ll tell you honestly which situation you have, with photos to back it up, before recommending any work.
Most Chicago vapor barrier replacement jobs are completed in one day, from removal of the old sheet to final seam tape and wall terminations. Larger crawl spaces over 2,000 square feet or jobs that include air sealing of rim joists and penetrations can run two days. You’ll get a written scope with the schedule before anyone lifts a tool.
We stock Knauf-compatible poly sheeting in 6-mil, 10-mil, and 12-mil rolls, along with the seam tape and terminations needed for a complete install. We also carry Reflectix radiant barrier for applications where a reflective surface is needed. If your job requires a specific Knauf product by name, we can match it, but we’ll also tell you whether a different thickness or material from a maker like Owens Corning or Johns Manville would serve the space better. Estimates are always free at (218) 261-7714.
Written by Wes Okafor, Owner & Lead Building Envelope Technician, Topside Attic Insulation at Topside Attic Insulation, serving Chicago and nearby areas.