
Owens Corning Radiant Barrier Installation: The Chicago Owner’s Guide
We stock and install Owens Corning radiant barrier in the Chicago area, with most attic installations running between $1.80 and $3.25 per square foot installed, depending on your roof configuration and whether air sealing is included. For a typical Chicago bungalow attic of 900 to 1,200 square feet, that puts the job between $1,600 and $3,900, and we can usually get a crew out within three to five business days. Most owners discover their radiant barrier has failed when they climb into the attic in July and the space feels like a pizza oven despite the barrier being up, or when they notice the foil facing has begun to delaminate and droop over the insulation below.
Here’s what you need to know before you spend money on a fix: radiant barrier only works when it faces an air gap, it only works when it stays clean and taut, and it does absolutely nothing if it’s been buried under blown insulation. We’ll get into all of that below.
Which Owens Corning Models This Applies To
Owens Corning sells radiant barrier under a few different product names depending on when it was purchased and where. The most common in Chicago attics are the Sol-R-Shield and Thermafiber Foil-Faced lines, but you’ll also see the Fox-panel style foil underlayments that Owens Corning used to distribute through their regional roofing partners. The critical specification is whether you have a perforated or non-perforated foil. Perforated barrier has tiny holes punched through the aluminum layer so it can breathe, which matters in Chicago because a non-perforated barrier installed on the attic floor will trap moisture against the insulation and grow mold by March. If your barrier is stapled to the underside of the rafters, non-perforated is correct. If it’s draped over the attic floor, it needs to be perforated. We see this mistake on roughly one in five Chicago homes we inspect, and it’s the fastest way to ruin both the barrier and the insulation underneath it.
Owens Corning doesn’t manufacture a standalone “radiant barrier installation” part the way you’d order a replacement compressor for a Trane unit. What you’re actually buying is the foil product itself, the installation pattern, and the supporting materials: the staples, the seam tape, the ventilation baffles that keep airflow moving under the roof deck. We stock Owens Corning foil on the truck along with a Reflectix equivalent for small repair sections, but we’re an independent contractor, not an Owens Corning dealer. If your existing barrier is from their EnergyComplete attic system, the foil is factory-laminated to the baffle panels, and a partial repair usually means replacing a full panel rather than patching the foil alone.
Signs Your Owens Corning Radiant Barrier Installation Is Failing
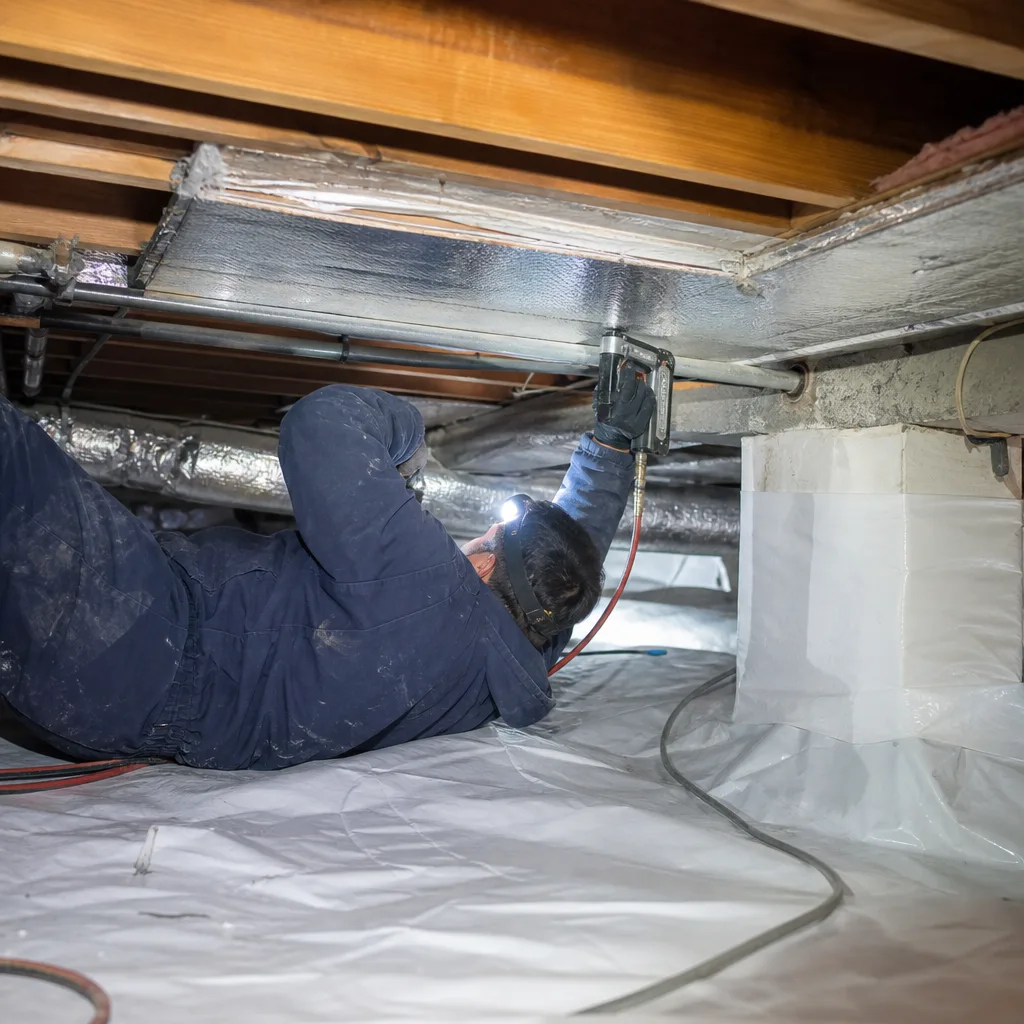
- Foil has lost its sheen and looks dull gray. Dust accumulation on the reflective surface kills emissivity. A radiant barrier that’s been up for eight years in a Chicago attic will have a layer of dust from the ridge vent and soffit airflow that drops its reflectivity by 30 to 40 percent. Cleaning is possible but rarely worth the labor versus replacement.
- Barrier is sagging or drooping between rafters. This usually means the staples have pulled loose due to thermal expansion cycles. Chicago’s swing from -10°F in January to 95°F in July causes the aluminum to expand and contract enough to work staples out of soft truss lumber over five to seven years.
- Tears along the seams where panels overlap. Wind washing from ridge and soffit vents flutters unsealed edges. The flutter fatigues the thin aluminum until it splits, and once a seam opens, the radiant heat path finds the gap. This is the most common failure we see in Chicago attics with powered attic ventilators.
- Moisture staining on the attic side of the foil. This is a sign the barrier was installed as non-perforated in a floor application, or that condensation is forming on the foil’s underside during shoulder seasons. It’s not just cosmetic. It means the dew point is landing inside your insulation stack, and you’re losing performance plus inviting mold.
- Summer electric bills climbing despite the barrier being in place. The house won’t tell you with a noise or a smell. It tells you with a ComEd bill. If your upstairs rooms run five to eight degrees warmer than the thermostat setpoint in August and the barrier is intact, it’s either dusted over, in contact with insulation, or installed without the required air gap.
Replacement Cost & What’s Included
| Scope | Typical Chicago Price | What’s Covered |
|---|---|---|
| Partial repair (single rafter bay or seam, up to 100 sq ft) | $220 – $480 | Foil patch, seam re-taping, inspection of adjacent bays |
| Full attic radiant barrier, 900-1,200 sq ft, rafters or floor | $1,600 – $3,900 | Removal of failed material, new OC foil, ventilation check, photo record |
| Full attic radiant barrier with air sealing (recommended) | $2,800 – $5,700 | Everything above plus top plate, can light, and penetration sealing, blower-door before/after |
Our written price includes material, labor, removal and disposal of the failed barrier, and a Documented Photo Record of the finished installation before the crew leaves. Every radiant barrier job we do in Chicago gets the same treatment as insulation work: a written scope, a flat price, and a written warranty handed over before any tools come off the truck. That’s Haven Standard Clause 1, and we don’t do exceptions. The 365-Day Done Right Promise applies to the completed work, and if the barrier sags, tears, or underperforms within that window, we return and fix it without a second invoice.
What drives the price range? Cathedral ceilings cost more than flat attics because you’re working on ladders at height. Floor applications cost less than rafter applications because you’re not working overhead. Air sealing adds cost because it adds labor hours, and it’s the part of the job that actually shows up in your heating and cooling bills. The radiant barrier alone knocks maybe 10 to 15 percent off your summer attic heat gain. Air sealing plus barrier together is where you see the real number move.
DIY or Call Us?
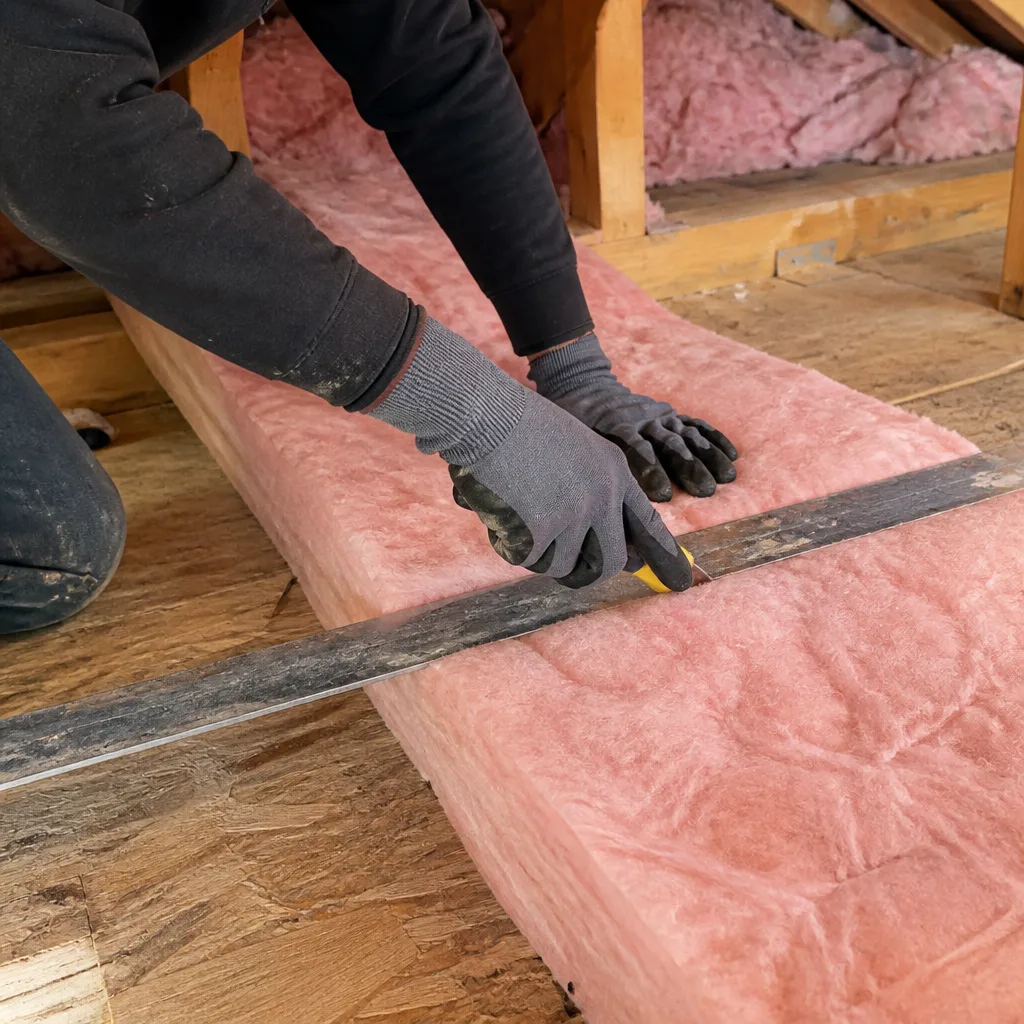
The honest answer: installing radiant barrier isn’t dangerous the way garage door springs or electrical panels are, but it’s physically punishing work in a Chicago attic, and it’s easy to do wrong in ways that cost you money. A homeowner with a staple gun, foil tape, and a good respirator can re-face a single rafter bay in an afternoon. The problem is that a failed barrier rarely fails in one bay. If the staples are pulling out in one section, they’re pulling out everywhere, and the dust layer is uniform, not local.
Where DIY goes wrong in our experience: walking on drywall edges instead of the joists and putting a foot through the ceiling, installing non-perforated foil on the floor and creating a moisture trap, and stapling barrier directly over existing insulation, which eliminates the air gap and makes the foil useless. If you want to try the small repair, we’ll tell you over the phone how to check the perforation type and what tape holds up to Chicago’s attic temperature swings. If you want it done once and documented, call (218) 261-7714 and we’ll schedule a site visit with a written price before any work starts.
FAQs
Realistically, 8 to 12 years in a Chicago attic before reflectivity drops enough to justify replacement. Dust accumulation, temperature cycling, and roof ventilation airflow all degrade the aluminum surface over time. A barrier installed in a sealed, conditioned attic will last longer because it avoids the dust loading. We’ve seen barriers that look fine at year six but have lost half their reflectivity because they collected a decade’s worth of dust in six years. Call (218) 261-7714 if you want us to test your barrier’s actual surface reflectivity.
Yes, when the failure is localized, which means a single torn seam, one sagging bay, or one panel of delaminated foil. If the failure is systemic, which means most of the staples are failing or the dust layer is uniform across the whole attic, replacement is cheaper per square foot than a thousand small repairs. We’ll tell you which one you have before we write anything down.
A typical Chicago attic takes one full day for a two-person crew, and we’ll have a written price to you before the day is scheduled. Partial repairs run two to three hours. If air sealing is included, budget two days, because the sealing work happens first and gets tested with a blower door before any foil goes up.
We stock Owens Corning foil in the most common Chicago sizes on the truck, plus Reflectix for small patch sections. If your attic needs a size or perforation pattern we don’t carry, material pickup adds one to two business days to the schedule. We’ll tell you before you commit, in the written scope.
If your Owens Corning radiant barrier has failed or you’re not sure it’s doing anything anymore, call (218) 261-7714 for a straight answer and a written price. We’ll come look at the attic, tell you what we found, and hand you a documented roadmap before you spend a dollar. Seal the holes first. Then add the R-value. The numbers will tell you whether it worked.
Written by Wes Okafor, Owner & Lead Building Envelope Technician, Topside Attic Insulation at Topside Attic Insulation, serving Chicago and nearby areas.